
How to Import Excel Data in SharePoint List through Power Automate Flow.
In today's digital workplace, businesses often need to streamline data management and automate repetitive tasks to enhance productivity. Microsoft Power Automate, a robust workflow automation tool, empowers users to achieve this by seamlessly integrating various Microsoft services and external applications. In this blog post, we will explore how to leverage Power Automate to import Excel data into a SharePoint list effortlessly.
Why Import Excel Data into SharePoint?
SharePoint is a powerful collaboration platform used for document management, data storage, and more. By importing Excel data into a SharePoint list, you can:
- Centralize and organize your data.
- Facilitate real-time collaboration on data.
- Take advantage of SharePoint's security and access control features.
- Create interactive dashboards and reports with Power BI.
- Automate data synchronization between Excel and SharePoint.
Prerequisites:
Before we begin, ensure you have the following:
- A valid office 365 subscription.
- Access to both the Excel file containing your data and the SharePoint list where you want to import the data.
* Steps to Import Excel Data into SharePoint List:
- Create a New Power Automate Flow:
Log in to your Power Automate account and click "Create" to start a new flow.

- Choose a Trigger:
Select a trigger for your flow. Common triggers include "When a file is created or modified (OneDrive for Business)" or "Recurrence" if you want the import to happen at specific intervals.
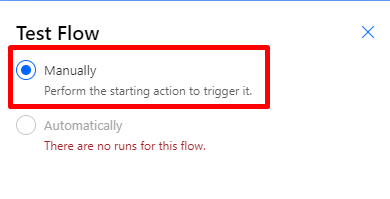
In this scenario I am choosing Manual Trigger.

- Add an Action to Get Data from Excel:
After setting up the trigger, add an action to retrieve data from the Excel file. Search for the "Excel" connector and choose the appropriate operation, which is "List rows present in table" for this scenario.

- Configure the Excel Action:
Specify the Excel file and sheet from which you want to extract data. You can use dynamic content from the trigger to specify the file path.

- Add an Action to Create SharePoint List Items:
After retrieving data from Excel, add an action to create SharePoint list items. Search for the "SharePoint" connector and select the "Create item" action.

- Configure the SharePoint Action:
Choose the SharePoint site and list where you want to insert the data.
Map the Excel data fields to the SharePoint list columns using dynamic content from the Excel step.
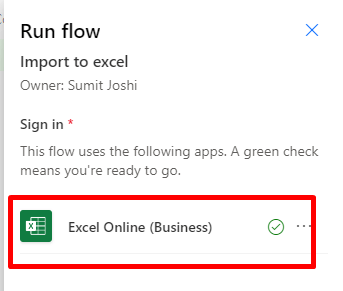
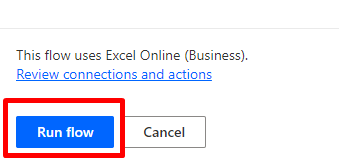
- Save and Test Your Flow:
Save your flow and run a test by adding a new Excel file to the specified folder. Your flow will automatically retrieve data from the Excel sheet and insert it into the SharePoint list.
 b.
b.

 d.
d.

 f.
f.

We've explored how to seamlessly import Excel data into SharePoint lists using Power Automate Flow. This powerful integration simplifies data management, enhances collaboration, and boosts productivity. By automating this process, you can save time and reduce the risk of errors, allowing you to focus on more strategic tasks. Harness the potential of Power Automate Flow to streamline your data workflows and unlock new possibilities for your SharePoint environment.
Thank you for joining us on this journey, and stay tuned for more valuable insights and tips!
If you have any doubts or questions related to this blog, you can Contact us by Email: info@voxtus.com
Abhishek Kumar
Power Apps Consultant